
· June Merrick
Where to Put Stitch Markers in Crochet: Which Stitch, Which Loop
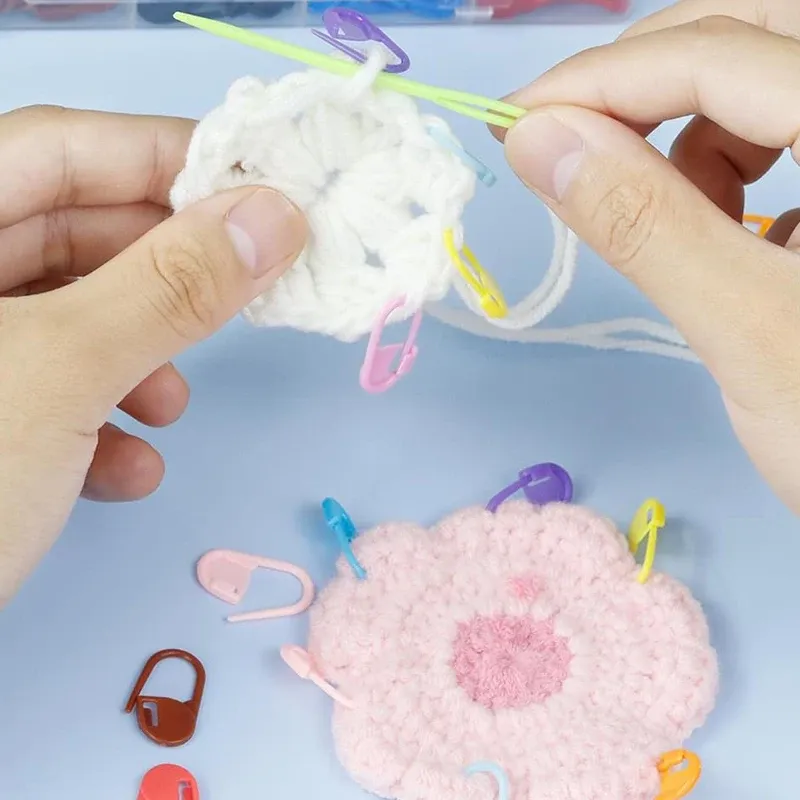
Crochet patterns are casual about markers in a way that costs beginners whole projects. "Place a marker in the first stitch" reads like a complete instruction until you are actually holding a hook, one live loop, and a round of identical bumps, none of which is obviously the first anything.
The job-level question — which situations call for a marker at all — is laid out on our crochet stitch markers page, and the four jobs that knitting and crochet share are in how to use stitch markers. This guide is the level underneath both. Given that you already know which job you are doing: exactly which stitch does the marker go into, which part of that stitch, and what happens to your count when you are off by one.
Crochet marks a stitch. Knitting marks a gap.
Everything else on this page follows from one structural fact, so it is worth stating plainly before the details. In knitting, dozens of stitches sit live on the needle at once, and a marker parked between two of them occupies the gap. It belongs to no stitch. It cannot be miscounted, because the stitches on either side stay exactly what they were.
Crochet has no such gap. Exactly one loop is ever live, on the hook, and everything behind it is finished fabric. So a crochet marker has to attach to a stitch — a specific, individual, identifiable stitch — and that stitch becomes the reference point. The marker is not near the boundary. It is the boundary, and it inherits every ambiguity of the stitch it is clipped to.
That is why crochet placement gets fussy where knitting placement does not: a crocheter who learned markers from knitting patterns places them correctly by knitting logic and one stitch wrong by crochet logic. The needle-side conventions are decoded separately in knitting with stitch markers.
The V on top: clip under both loops, never one
Look at the top of any completed crochet stitch and you will see two strands lying side by side, forming a small V or a chain-like bar. The strand nearer you is the front loop; the one behind it is the back loop. Together they are what your hook goes under when you work the next row into that stitch.
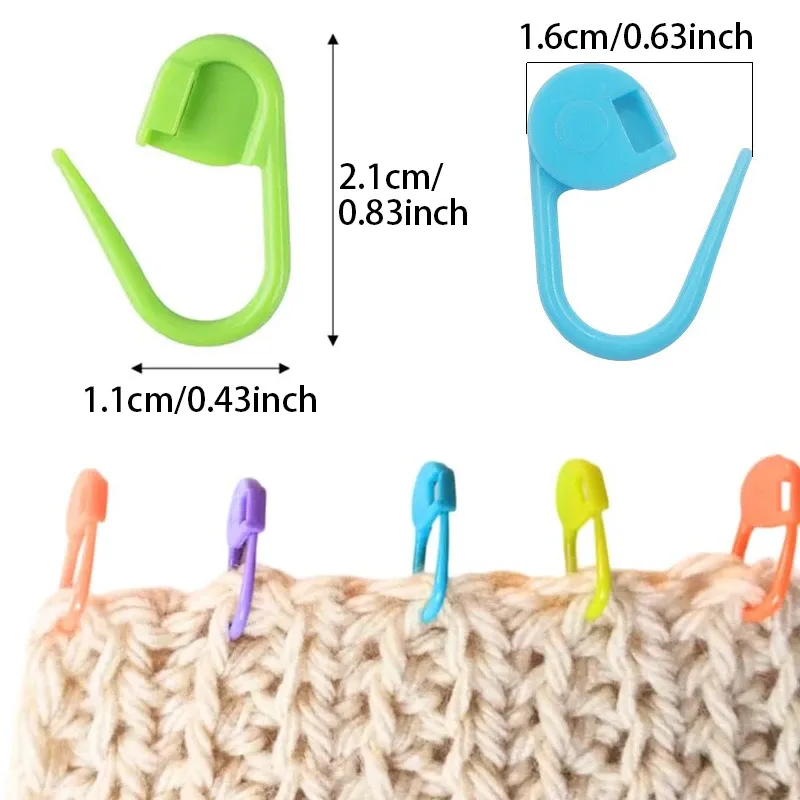
The marker goes under both of them. Open the clip, slide it under the whole V, snap it shut. Both loops, one marker, done.
Clipping under one loop only is the single most common placement error, and it is quiet, which is what makes it expensive. A marker held by one strand has a hinge: in loose gauge or slippery yarn it can rock sideways and reseat itself on the neighboring stitch, and it will do it inside a project bag where nobody is watching. You come back to a marker that is still locked shut, still clearly present, still obviously trustworthy — and one stitch away from where you left it. Nothing about its appearance tells you it moved.
A single-loop marker also drags on the stitch it hangs from. In worsted weight that rarely shows; on anything finer the pull is visible, and the marked stitch gets harder to identify, not easier.
First stitch or last stitch of the round?
Here is the ambiguity that actually breaks projects, and almost no pattern spells it out. Two conventions are in circulation and they place the marker one stitch apart.
The common one marks the first stitch of the round. You make the first stitch, clip the marker into it, work the rest of the round, and when you arrive back at the marked stitch you know the round is complete. To move up: unclip, work into that stitch as the new round's first stitch, and immediately re-clip the marker into the stitch you just made.
The other marks the last stitch of the round — the stitch you just finished — so the marker records where you stopped rather than where you started. It is the natural habit for anyone who puts work down mid-round, and it is entirely workable. It is just not the same stitch.
Tell them apart by what the pattern asks you to do at the marker. "Work to marker" and "sc in each st around to marker" describe a finish line you approach, which is the first-stitch convention. "Move marker up as you go" with the marker described as sitting in the stitch just completed is the last-stitch convention. When a pattern is silent, assume first stitch — it is the dominant convention in written English-language crochet patterns, and it is the one that matches "place a marker in the first st".
Then hold to your choice for the whole project. Switching conventions at round nineteen is how a count goes wrong in a way that looks like nothing went wrong.
What being one round off actually costs
A one-stitch marker error does not announce itself. It compounds, silently, and then presents as a shape problem you cannot trace.
Take standard amigurumi: a flat circle grows by six increases per round, and those increases are meant to stack into six straight columns radiating from the center. Straight columns are what make a sphere spherical. Now shift your round start by one stitch. Every subsequent increase lands one stitch further around than it should, the six columns start spiraling instead of radiating, and the fabric develops a diagonal twist. Give it fifteen rounds and the piece leans — the head sits crooked on the body, and stuffing it makes it worse, not better.
The tell arrives before the shape does, and it is countable. At the end of every round, check your stitch count against the pattern. A drifting marker usually produces a round that is one stitch over or under, because you either worked the marked stitch twice or skipped it entirely. One round of a wrong count is a two-minute fix. Six rounds of a wrong count is frogging back to round twelve.
This is also the argument for spending a marker rather than saving one. With around 50 million Americans knowing how to knit, crochet or craft with yarn (Craft Yarn Council, 2022), markers are made at a scale that puts good locking ones at roughly 30 cents each in a 50-pack. Marking generously is cheap. Rebuilding fifteen rounds of a toy is not.
Increases and decreases: which of the pair gets the marker
An increase in crochet puts two stitches into one stitch of the round below, so "mark the increase" has two candidates. A decrease turns two stitches into one, so it has the opposite problem: one finished stitch standing for two.
For increases, mark the second of the pair — the one that finishes the increase — and always the second. It sits at the outside edge of the shaping, which is where your eye goes when you are checking whether the columns are still straight. For decreases there is only ever one finished stitch on top, so it takes the marker with no ambiguity.
What this buys you is countable rows. "Increase every third round" stops being memory work: clip a marker into the last increase you made, and the answer is however many clear rounds sit above it. Leave it in until the shaping section is done.
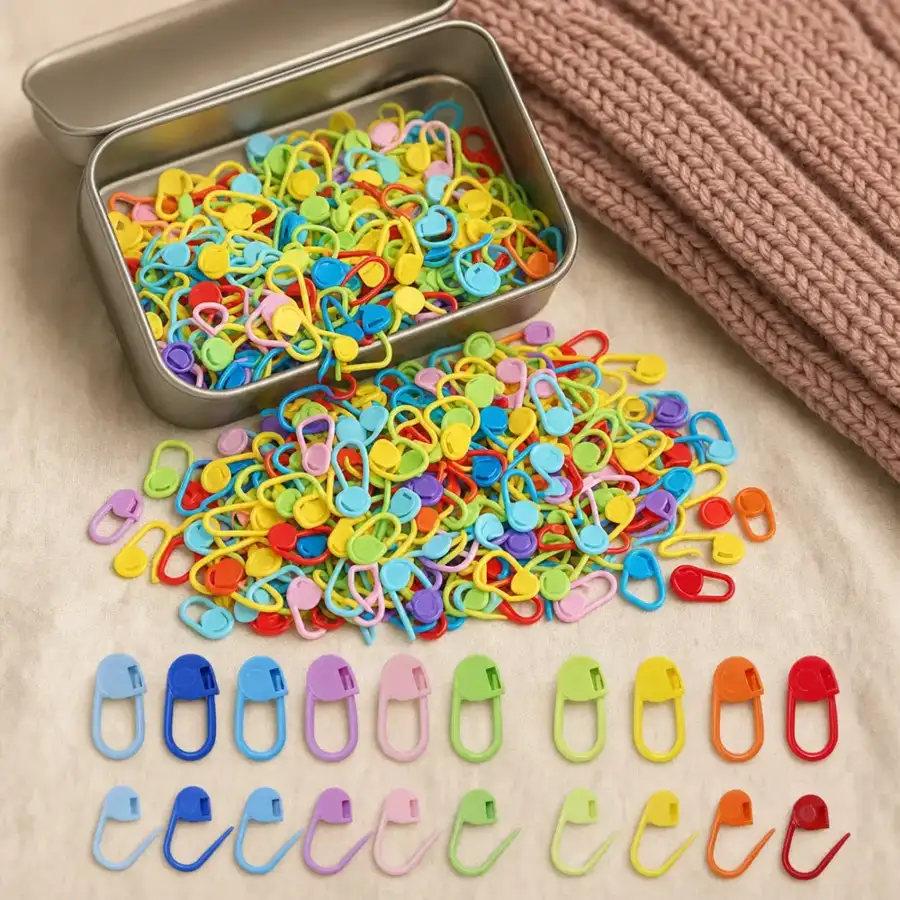
Color does the rest of the work here. If your round-start marker is always yellow and your shaping markers are always blue, no marker ever has to be interpreted. That is the whole reason we ship the 50-pack assorted rather than in one color, and the enamel charm sets lock the same way if you want the round-start marker to be the pretty one.
A color change happens one stitch before you see it
This one catches experienced crocheters, because the marker has to go where the new color appears while the action happens a stitch earlier.
Changing color cleanly in crochet means completing the final yarn-over of the previous stitch with the new color. Do it any later and the old color leaves a stray bump at the base of the first new stitch. So if the chart says the new color starts at stitch 24, your hands have to change during stitch 23.
Place the marker on stitch 24 anyway — the stitch where the color visibly begins, because that is what you can find on a chart and see in the fabric. Then read the marker as an instruction to act on the stitch before it. Marking stitch 23 instead seems more logical for about one round, and then you are hunting for a marker that corresponds to nothing visible in the finished fabric.
Right side, wrong side, and the marker that settles it
Single crochet worked in rows presents two faces that are genuinely hard to tell apart in evening light, and the cost of guessing wrong is a row of texture on the wrong face.
The fix is one marker, placed once, at the start. Clip it into a stitch on the right side near the foundation chain and leave it there for the life of the piece. Every time you pick the work up, the marker is either facing you or it is not, and the question is closed without inspecting a single stitch.
In a spiral the right side is the outside of the tube, and marking it matters more, not less: amigurumi is easy to invert on the first few rounds, and once the piece is stuffed you cannot check. Clip a marker on the outside at round three.
Stitches with no top loops to clip
Some crochet does not offer the neat V this whole page has assumed, and each case has its own answer.
Post stitches — front post and back post — are worked around the body of the stitch below rather than into its top. Clip around the post as well: pass the marker around the vertical bar of the stitch and lock it there.
Working in back loop only or front loop only leaves the unworked loop sitting free as a visible ridge, and that free loop takes a marker beautifully. It is already isolated, so there is no risk of catching one leg by accident.
Fine thread is where the rule genuinely inverts. On lace-weight yarn and doily thread, clip around the post rather than through the top loops — the loops are small enough that a marker sitting in them can distort the stitch. Each marker weighs under a gram, so nothing is strained; the post is simply a sturdier anchor at that scale.
What every one of these cases needs is a marker that opens and locks. A ring has nowhere to sit in crochet, and a split ring works its own way loose at the worst moment — the style-by-style breakdown of what holds and what does not is on our locking markers page, with the full lineup in what are stitch markers.
Placement stops being a decision surprisingly fast. Both loops, first stitch of the round, second stitch of an increase, the stitch where the new color shows — four rules, and after a project or two your hands apply them before you have finished reading the line. The bookkeeping markers still do not cover is rows, and that has its own tool in the on-needle row counter.